Have you been thinking about launching a platform similar to OnlyFans? Whether you’re an entrepreneur looking to break into the lucrative subscription-based content market or a developer seeking your next project, creating an Only Fans clone can be a rewarding venture. Let’s dive into a detailed, step-by-step guide to help you turn this idea into reality. Don’t worry, we’ll keep the technical jargon to a minimum and make this as straightforward as possible.
Step 1: Understanding the Market
Before you start coding or sketching out ideas, it’s crucial to understand the market. OnlyFans has made a significant impact by allowing creators to monetize their content directly from fans. This model has proven successful in several niches, including fitness, music, art, and adult content.
Why is this important?
Knowing your market helps you identify the needs and preferences of potential users. This way, you can tailor your platform to meet specific demands and carve out a niche for yourself. Spend some time researching current trends, popular content creators, and what users are willing to pay for.
Step 2: Define Your Niche
Once you understand the market, the next step is to define your niche. Do you want to cater to fitness enthusiasts, chefs, artists, or perhaps another category altogether?
Tip: Choosing a niche can make your platform more appealing to a specific audience. It helps in marketing and reduces competition since you’re not trying to be everything to everyone.
Step 3: Essential Features to Include
Before diving into development, outline the essential features your platform will need. Here’s a list to get you started:
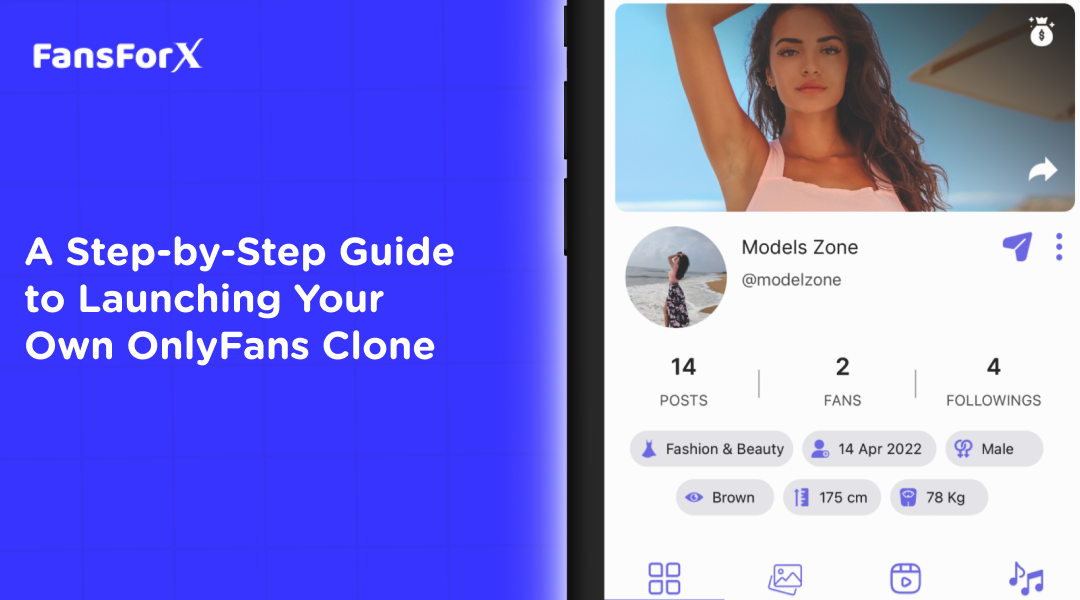
- User Profiles: Both creators and fans should have customizable profiles.
- Subscription Plans: Allow creators to set subscription prices for their content.
- Content Upload: Easy-to-use tools for uploading photos, videos, and other media.
- Messaging System: A way for fans to communicate with creators.
- Payment Integration: Secure payment gateways for handling transactions.
- Analytics: Basic analytics for creators to track their earnings and audience engagement.
Step 4: Choosing the Right Technology Stack
Now, let’s talk about the technical side. Choosing the right technology stack is crucial for the performance and scalability of your platform. Here’s a simple breakdown:
- Frontend: React.js or Vue.js for a responsive and fast user interface.
- Backend: Node.js with Express.js for handling server-side logic.
- Database: MongoDB or PostgreSQL for storing user data and content.
- Storage: AWS S3 or Google Cloud Storage for media files.
- Payment Gateway: Stripe or PayPal for managing transactions.
Why these choices? These technologies are widely used, well-documented, and have large communities, making it easier to find solutions to any issues that arise.
Step 5: Designing the User Interface
Design is more than just aesthetics; it’s about user experience. Your platform should be intuitive and easy to navigate. Focus on a clean, modern design that doesn’t overwhelm users with too many options.
Pro Tip: Use wireframing tools like Sketch or Figma to create a blueprint of your platform before diving into development. This will save you a lot of time and rework.
Step 6: Development Phase
With your design and technology stack in place, it’s time to start building. Here’s a step-by-step approach to keep things organized:
1. Set Up Your Development Environment:
- Install necessary tools and frameworks.
- Set up version control with Git.
2. Backend Development:
- Start with setting up the server and database.
- Implement user authentication and authorization.
- Develop APIs for handling user data, subscriptions, and content.
3. Frontend Development:
- Create components for different parts of the platform (e.g., profile pages, subscription pages).
- Integrate with backend APIs.
4. Payment Integration:
- Set up payment processing with your chosen gateway.
- Ensure secure handling of transactions and user data.
5. Testing:
- Conduct thorough testing to identify and fix bugs.
- Beta test with a small group of users to gather feedback and make necessary adjustments.
Step 7: Launching Your Platform
Launching your platform is both exciting and nerve-wracking. Here’s how to do it smoothly:
1. Pre-Launch Checklist:
- Ensure all features are thoroughly tested.
- Prepare marketing materials (website, social media, press releases).
- Set up customer support channels.
2. Soft Launch:
- Start with a soft launch to a small audience.
- Use this phase to identify any last-minute issues and gather initial user feedback.
3. Full Launch:
- Once you’re confident everything is running smoothly, proceed with the full launch.
- Use targeted marketing strategies to attract your initial user base.
Step 8: Post-Launch Activities
Your work doesn’t stop at launch. Post-launch activities are crucial for the growth and success of your platform:
1. User Support:
- Set up a dedicated support team to handle user queries and issues.
- Create a comprehensive FAQ section to help users navigate common problems.
2. Continuous Improvement:
- Regularly update your platform with new features and improvements based on user feedback.
- Monitor performance metrics to ensure the platform runs smoothly.
3. Marketing and Growth:
- Invest in digital marketing strategies like SEO, social media marketing, and influencer partnerships.
- Encourage satisfied users to spread the word about your platform.
Step 9: Legal and Compliance
Running a platform like OnlyFans comes with legal responsibilities. Ensure you comply with all relevant laws and regulations:
1. Terms of Service and Privacy Policy:
- Draft clear terms of service and privacy policy documents.
- Make sure users understand their rights and responsibilities.
2. Content Moderation:
- Implement a system for monitoring and moderating content to ensure it complies with your platform’s guidelines.
- Have a clear process for handling violations.
3. Data Protection:
- Ensure your platform complies with data protection regulations like GDPR and CCPA.
- Implement robust security measures to protect user data.
Step 10: Scaling Your Platform
As your user base grows, you’ll need to scale your platform to handle increased traffic and content:
1. Performance Optimization:
- Optimize your code and database queries to ensure fast load times.
- Use caching strategies to reduce server load.
2. Infrastructure Scaling:
- Move to scalable cloud services to handle increased traffic.
- Consider using Content Delivery Networks (CDNs) to serve content faster.
3. Feature Expansion:
- Continuously add new features and improvements based on user feedback.
- Stay updated with industry trends to keep your platform competitive.
Conclusion
Launching your own Only Fans clone is a challenging yet rewarding endeavor. By following these steps, you can create a platform that meets the needs of both creators and fans. Remember, success doesn’t happen overnight. Be patient, listen to your users, and keep improving your platform.
Whether you’re a seasoned developer or a newcomer to the tech world, this guide should give you a clear roadmap to get started. And when you’re ready to take the leap, consider using FansForX, the best OnlyFans clone script provider in 2024. With their robust, customizable, and user-friendly scripts, FansForX makes it easier than ever to launch a high-quality subscription-based content platform.
So, roll up your sleeves and start building your dream platform today!